The Val Ease Central Railroad ©
Taking Z Scale to the Public Around the World
(Text and photos © Copyright Jeffrey MacHan)
Howard Kannitbee, P.E., Superintendant of Engineering, VECRR
Construction Diary - Opening "Val Ease Summit"
VES Construction, part 7: VEC Foresters at work
The VECRR track crew has been busy and is about to wrap up their work on VES. The grades have been levelled, the track laid, the ballast poured and shaped, rail joints have been welded (ok, soldered), and the track weathered with solvent-based paint. I used grimy black over the entire VES trackage but I could have used a rusty brown for the wye leads as they would not receive as much traffic as the mainlines.
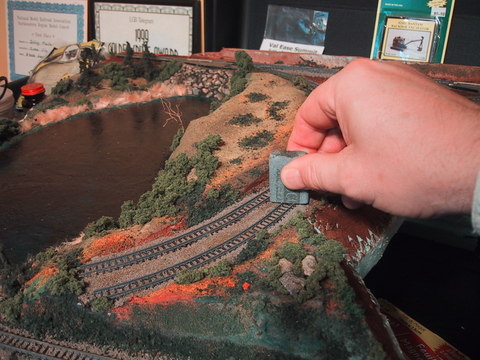
Once the paint had dried (5 minutes) an abrasive track eraser did quick work removing paint from the top of the rails.
The last two jobs are to remove paint from the rail tops using an abrasive track eraser (Peco in this case) and to inspect the insides of all the rails for wayward pieces of ballast which may eventually interfere with rolling stock and good locomotive driver electrical contact.
Useful tip:The best way to clean the rail tops, I've learned, is to place a wee bit of Wahl Clipper Oil on a chamois held on a fingertip and to run the cloth over the rails. The oil will condition the rail and remove any invisible paint and eraser residue.
Time for the "Val Ease County Foresters" to go to work replanting the trees that were unfortunately destroyed or consumed during the work on VES. The Foresters used several tree-building techniques including the VEC "1-Minute Fir Tree" method. Here is a rapid and abridged refresher course on VEC fir trees.
|
1-Minute Fir Trees
Jeffrey MacHan Note: The "1-Minute Fir Tree" Method was first introduced to the Z world in a Ztrack article published in early 2000. The original article is available in the VEC Library as part of the "Lightweight layout techniques used on the VECRR" series.
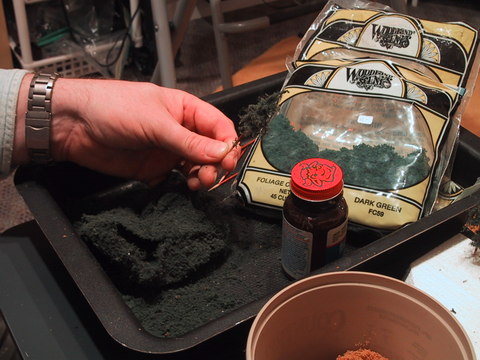
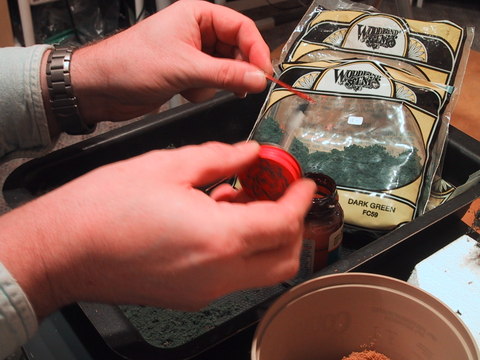 Use a dark brown felt-tip marker to colour the "trunks" of a bunch of round toothpicks. Using rubber cement, apply a generous coat over 2/3 of the trunk. Woodland Scenics Foliage material (not clumps) is used to make branches.
 Roll the wet trunk in foliage droppings to give the trunk an undercoating of foliage.
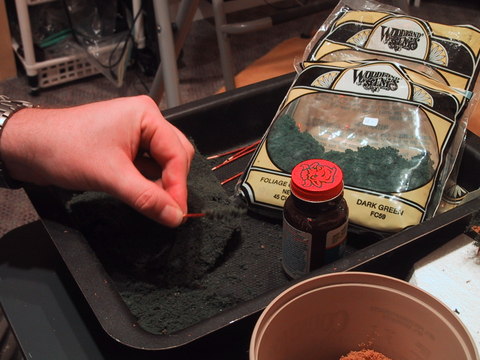
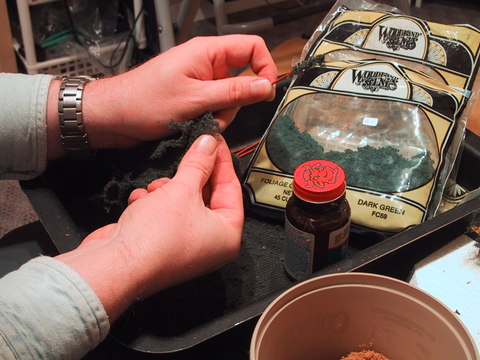 Pinch off a small bit of foliage material and roll it between your fingers to make the crown of the tree. Attach the crown by pinching it to the point of the toothpick.
 Next step is to apply "branches" by pinching off small bits of foliage material and touching them to the trunk, starting at the top and moving down as you rotate the trunk. Five or six pieces of foliage suffice to make a half-height tree. Don't worry about the whiskers just yet.
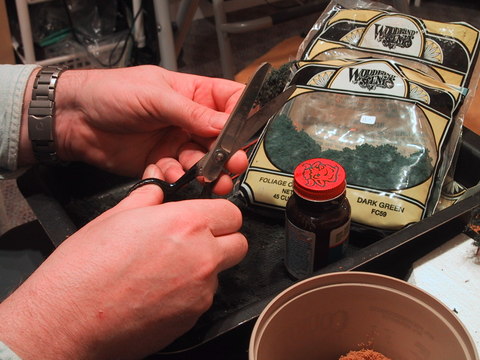 The last step is to trim off the whiskers using a pair of safety scissors (especially if you manage to get your kids or grandkids to make trees for you). You can save your trees by sticking them in a piece of scrap foam for later planting. I tend to do ten trees then plant them on the layout to see how the forest is progressing.
|
The VEC Foresters invest in the future of the County's forests
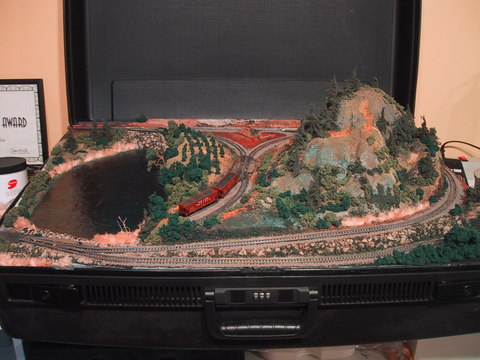
Sometimes inspiration comes right in the middle of doing something completely different. In the case of the VES plantation, I was busy gluing bits and pieces of dark green foliage clumps around the water's edge of Summit Lake when I pinched off a little conical-shaped piece. This looks just like a young spruce tree, I thought. Wouldn't that be interesting to have a replanting area just above the lake where the woods had been cleared by the VECRR engineering crews when they were preparing the VES wye! Let's try it!
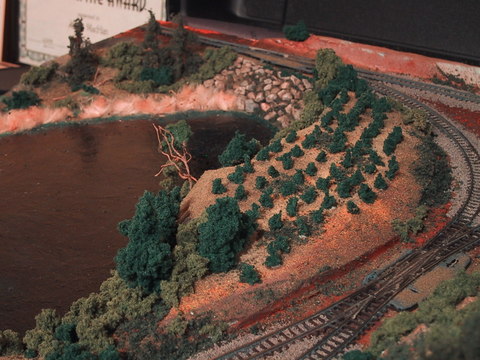
Using conical-shaped pieces of dark green foliage clumps, I glued even rows of young plantings to simulate the work of the "Val Ease County Foresters".
Larger pieces of foliage clumps, in both conifer green and dark green, were used as large thickets of dense shrubbery and willows. Using my "tip the layout on an angle" technique, I glued foliage droppings along the wye leads to fill gulleys and to hide the various foam carving defects I had left in my wake.
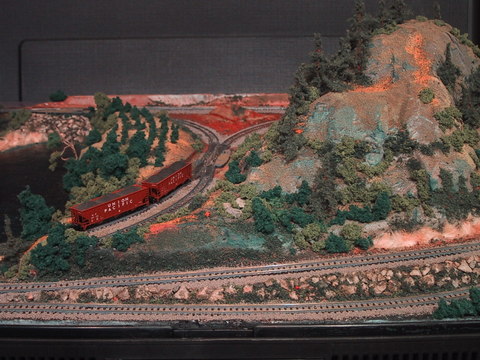
Time to try out the wye with a couple of Pennzee UP 3-bay hoppers. They looked right at home.
Let's take a gander at VES
Notice in the following photos where I've applied bullrushes along ditches on the downgrade, along the lakeshore at both ends and along the front edge of the module framing the riprap protecting the turnout on the left.
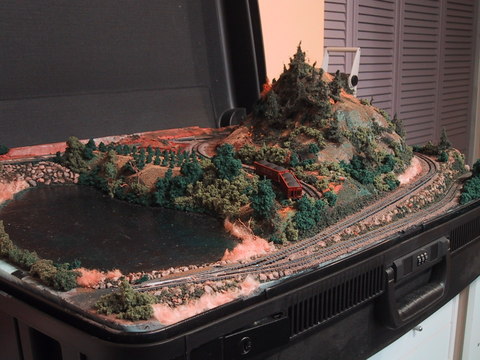
The bullrushes and the plantation add much colour and richness to the overall "look" of VES.
Summit Lake is probably going to get another coat of gloss medium gel but it looks pretty good already. Small clumps of dark green foliage "clumps" are glued just above the water line along the right-hand side of the lake helping to hide the gel-styrofoam joint.
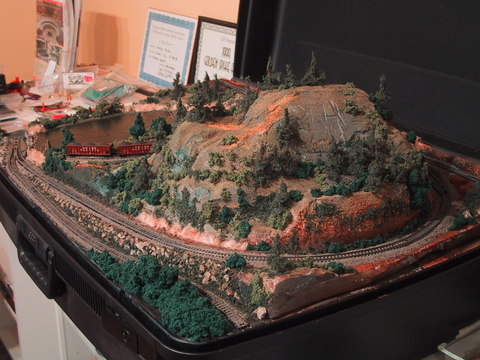
Looking over Summit Mountain towards the lake. Notice the dark green foliage clump buffer zone along the front mainline.
Modelling explanation: I needed something flexible and durable along the front edge of the layout base because the lid of the suitcase would prevent planting trees or placing a structure in that spot. I also needed to consider the possibility of young hands being tempted by figurines or vehicles that I had originally planned to place in that area. The foliage looks just like the masses of brush that I used to clear from telegraph lines when I worked as a lineman during summer holidays from university studies. The brush could be so dense that it was impossible to walk through. Only a good Sandvik axe could clear a path.
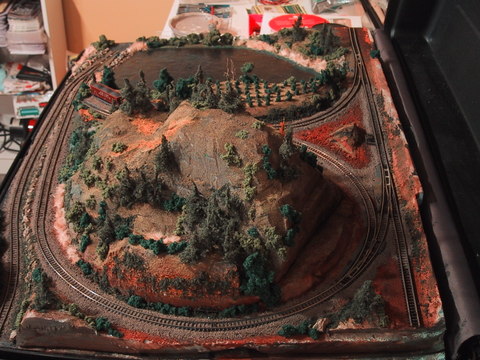
Here is an eagle's-eye view of VES showing where there is still more work to be done, i.e. the quarry and the back edge along the backdrop. Hey, we need more trees!
Once the telegraph line, the quarry structures and machinery, the VECRR lineside huts and other odds and ends are added, VES Division will be ready for the "Golden Spike" ceremony.