The Val Ease Central Railroad ©
Taking Z Scale to the Public Around the World
(Text and photos © Copyright Jeffrey MacHan)
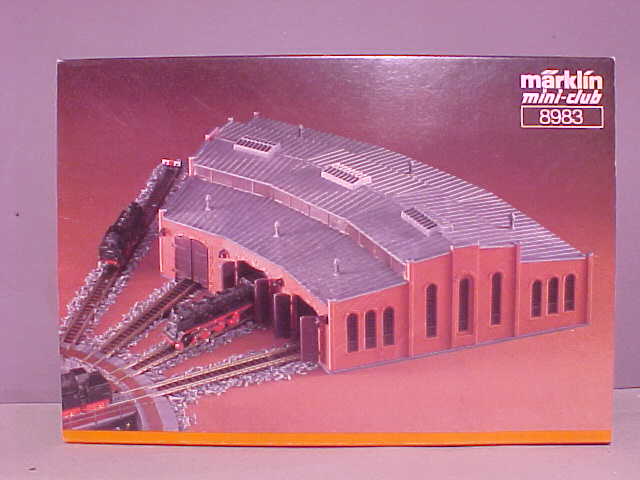
Packing the Märklin Roundhouse into a Suitcase!
Ok, sure the turntable is a crowd pleaser but what about that Märklin roundhouse with the automatic doors? I had to have one! The only trouble was, it didn't fit in the available space in Val Ease East which is housed in a hard shell suitcase after all. Building it full size would have left no room to develop an interesting operational track plan. Those of you contemplating a coffee table layout will also appreciate this opportunity to fit a turntable and roundhouse into your track plan.
The solution? A fine toothed razor saw, a steel ruler, hobby files, styrene cement, several very sharp hobby knife blades and no fear!
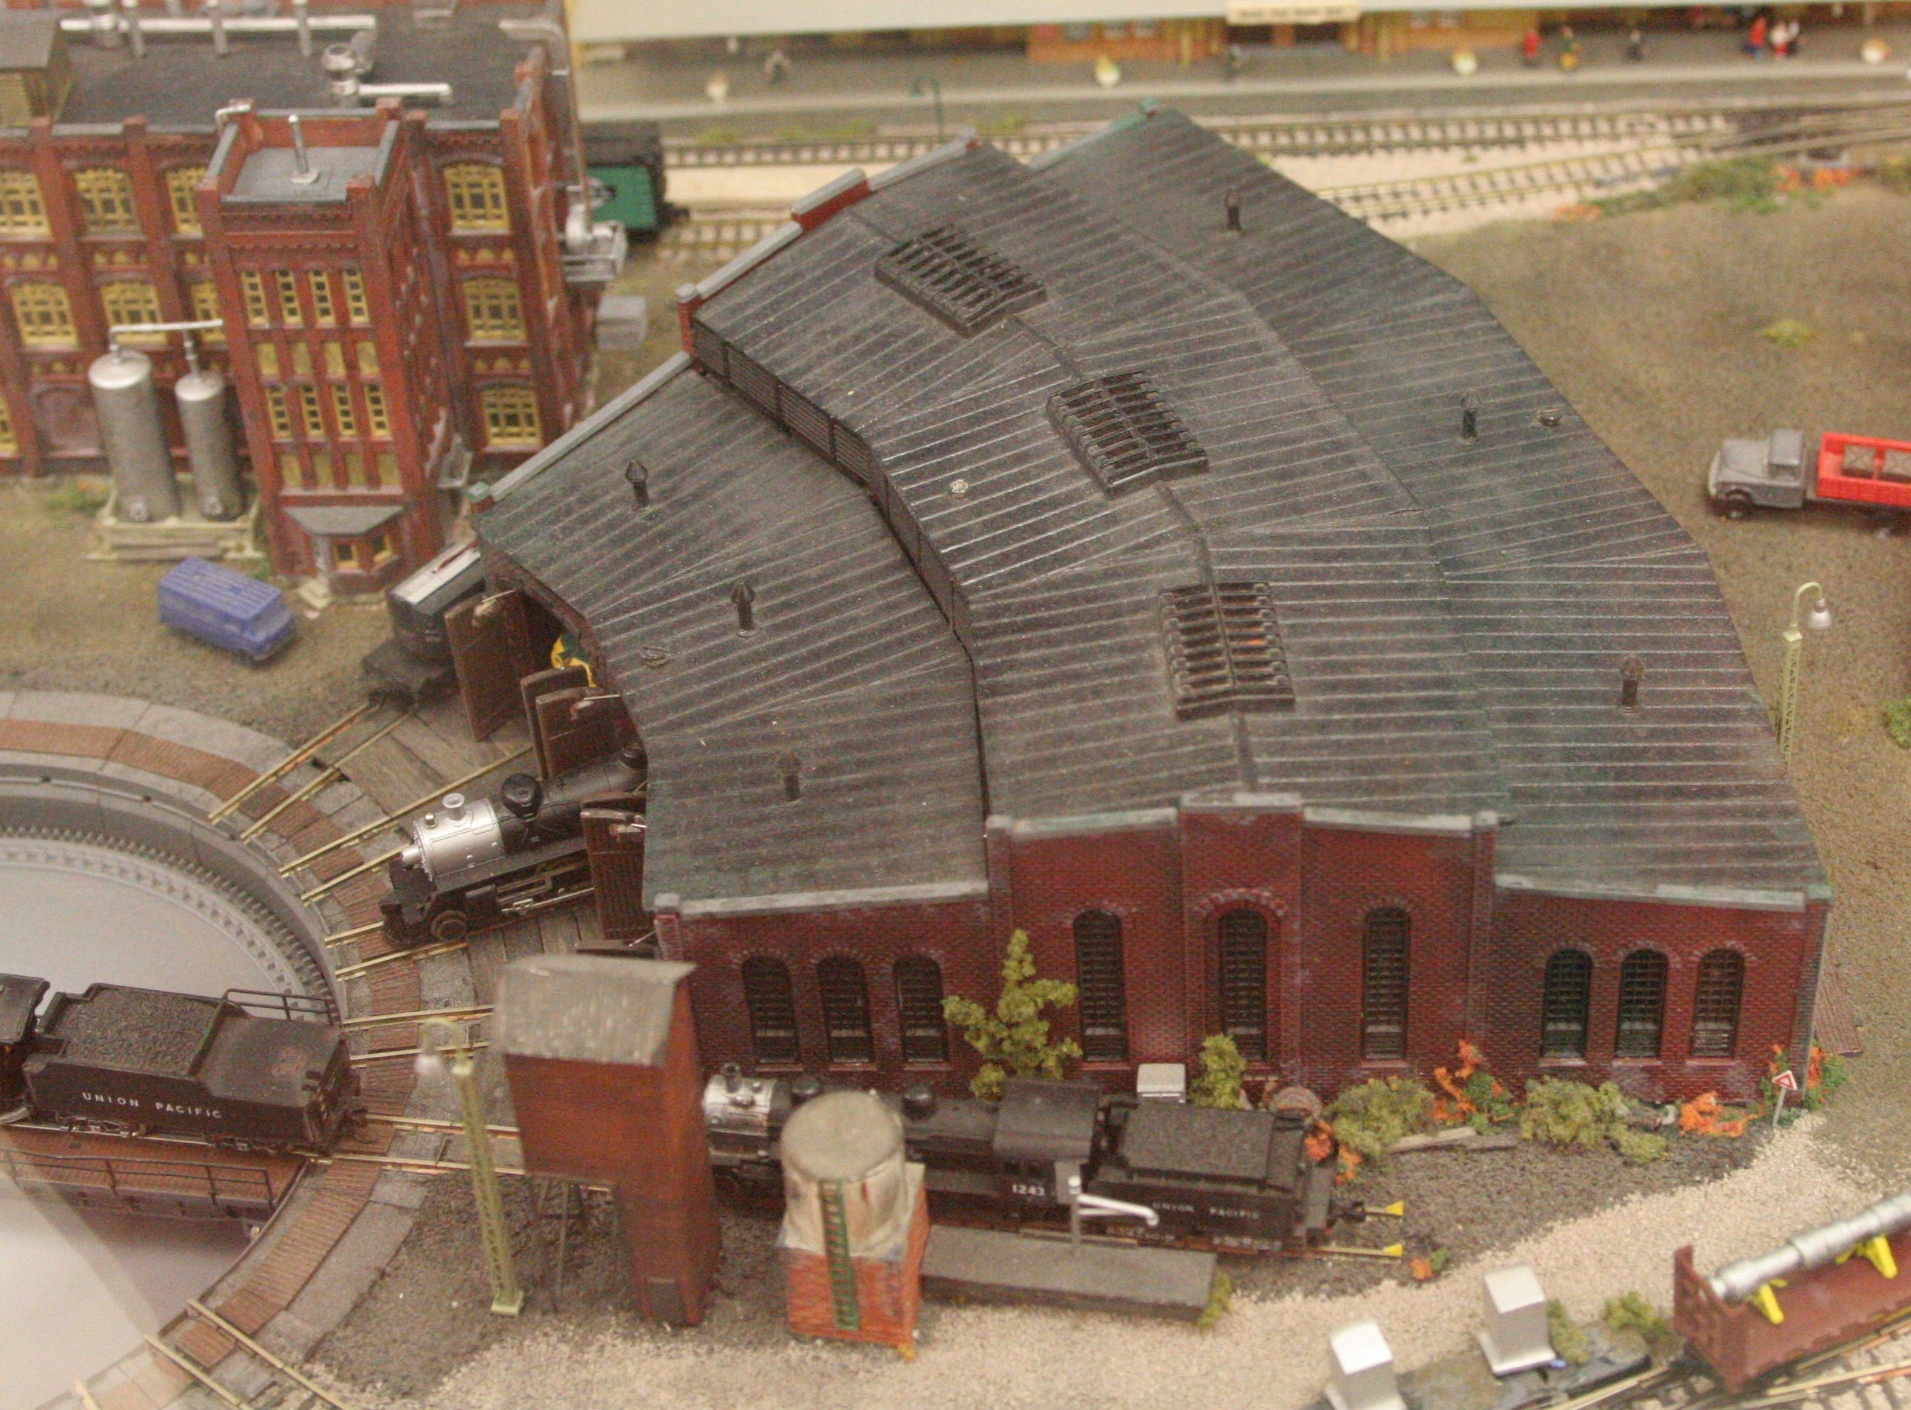
The original Märklin roundhouse sits well back from the turntable pit. The challenge is to shorten the distance. The solution is to narrow the roundhouse.
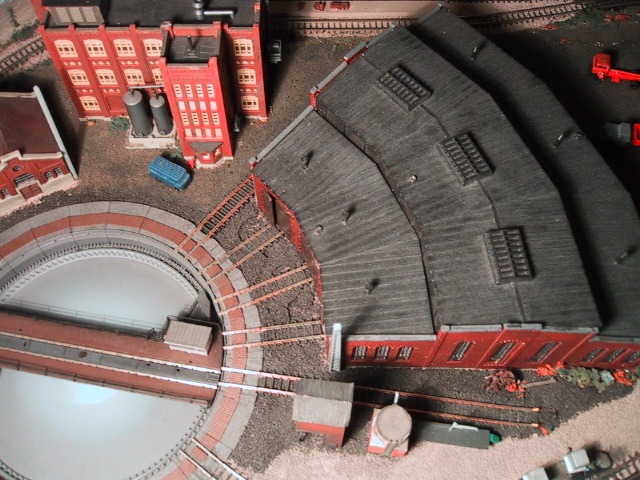
The turntable in Val Ease East shortly after surgery shows how the narrowed structure can be moved closer to the turntable pit.
I made some measurements of the parts from the kit and determined that I could do some cosmetic surgery that would move the roundhouse much closer to the turntable pit. By doing so, I was able to free enough space to the rear to allow additional trackwork that I thought would give the VEW some interesting scenery and switching possibilities.
Simply stated, I measured and marked a point 30mm along the front and 75mm along the back edges of the roof sections, scored a line with the hobby knife using the straight edge and cut off a wedge from each of the three sections.
I did the same with the floor sections although care must be taken to keep the track openings centered. All the other transversal parts have to be shortened. I'm sure that I measured before cutting but then again I could have test fit and trimmed.
Use whatever method that best suits you. I tend to employ a more "fly by seat of pants" than "engineerical" approach to kit surgery. Therefore my instructions must be considered as a guide to your own process of discovery. Study the photos closely to see where to make cuts if you are interested in attempting this project.
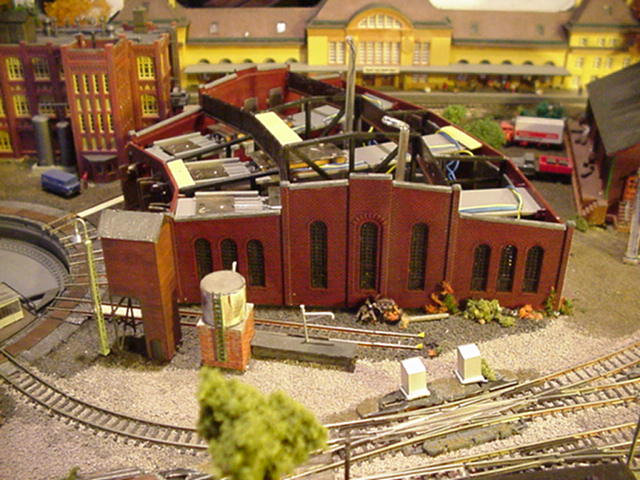
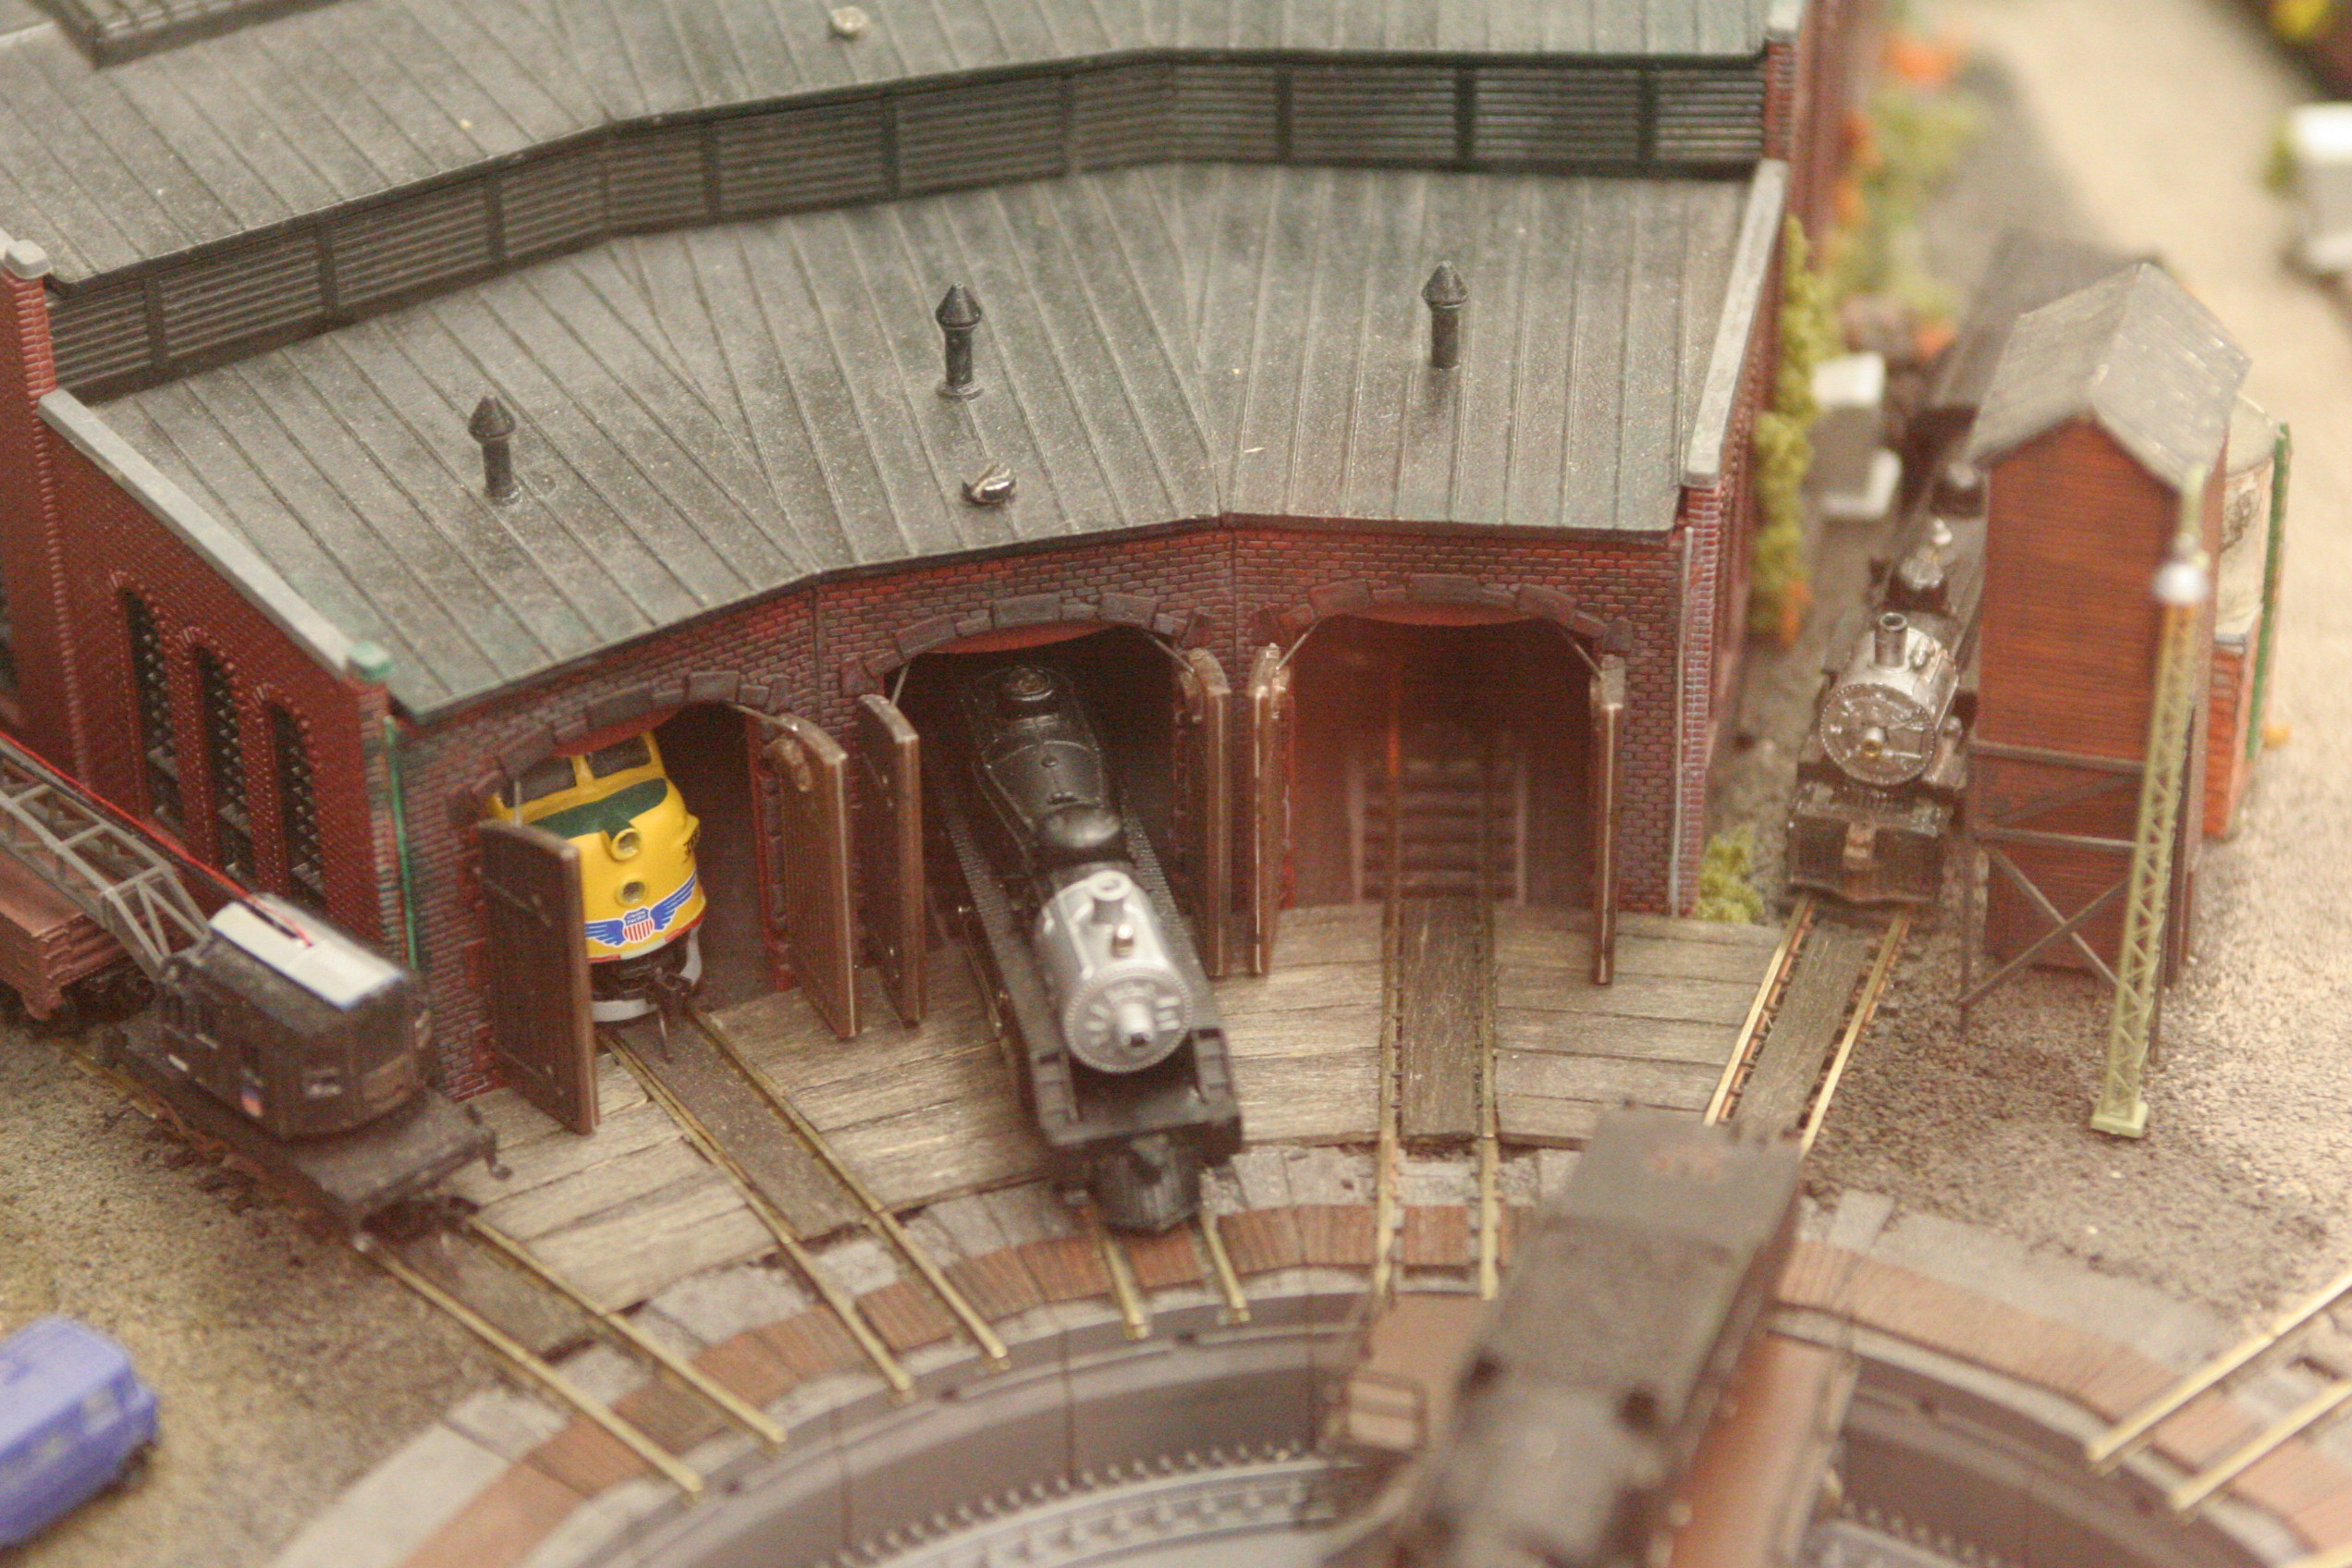
My kit surgery usually results in some imperfections! Little gaps in the front brickwork were filled with drain pipes and others were camouflaged with ivy and piles of junk. Of course I installed the door mechanisms. During train shows the kids love it when I open the doors at supersonic speed!
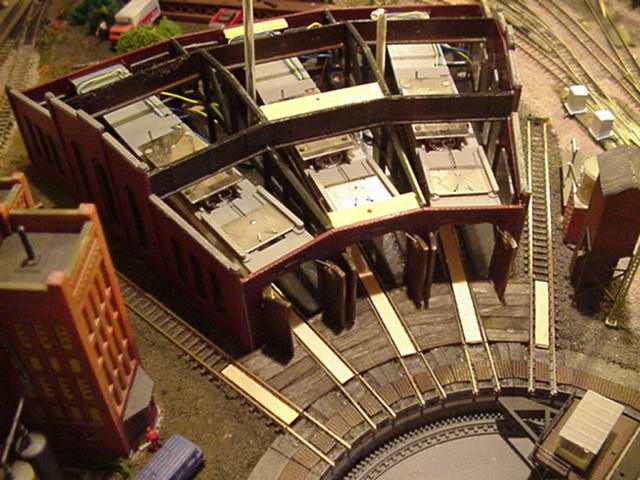
In this image the roundhouse is shown with the roof sections removed. A close inspection shows how the internal support structures have been modified to fit in the shortened roundhouse. Notice that I have installed the factory-supplied motors and mechanisms for the roundhouse doors. The limiting factor for the "narrowing" project is the minimum space needed to accomodate the door motors.
A side view of the roundhouse showing the framing and door motors. Notice the 3 yellow styrene strips that have been added to act as mounting plates for the roof sections. I cut and glued the roof sections into a single piece, reinforced along the inner seams, in order to be able to easily remove the sections for access to the internal works of the roundhouse.
Click on the following images to open high-resolution photos which should provide lots of visual clues as to where the cuts were made in the stock roundhouse kit.
NOTE: I glued the wall edging into place after cutting the roof sections to make a snug fit. To remove the front roof section, it is necessary to flex it very slightly to ease by the edging. The top and rear roofs slide into place from the back without problem. It is possible to file the inside of the edging flush with the wall to make roof removal easier but I wanted the extra security to hold the roofs in place during transport of the layout.
Notice how the roof section is held in place using a small flat-head screw. I glued a piece of scrap styrene strip along the inner edge to act as a mounting plate.
The assembled roundhouse now sits 48mm from the edge of the turntable pit.
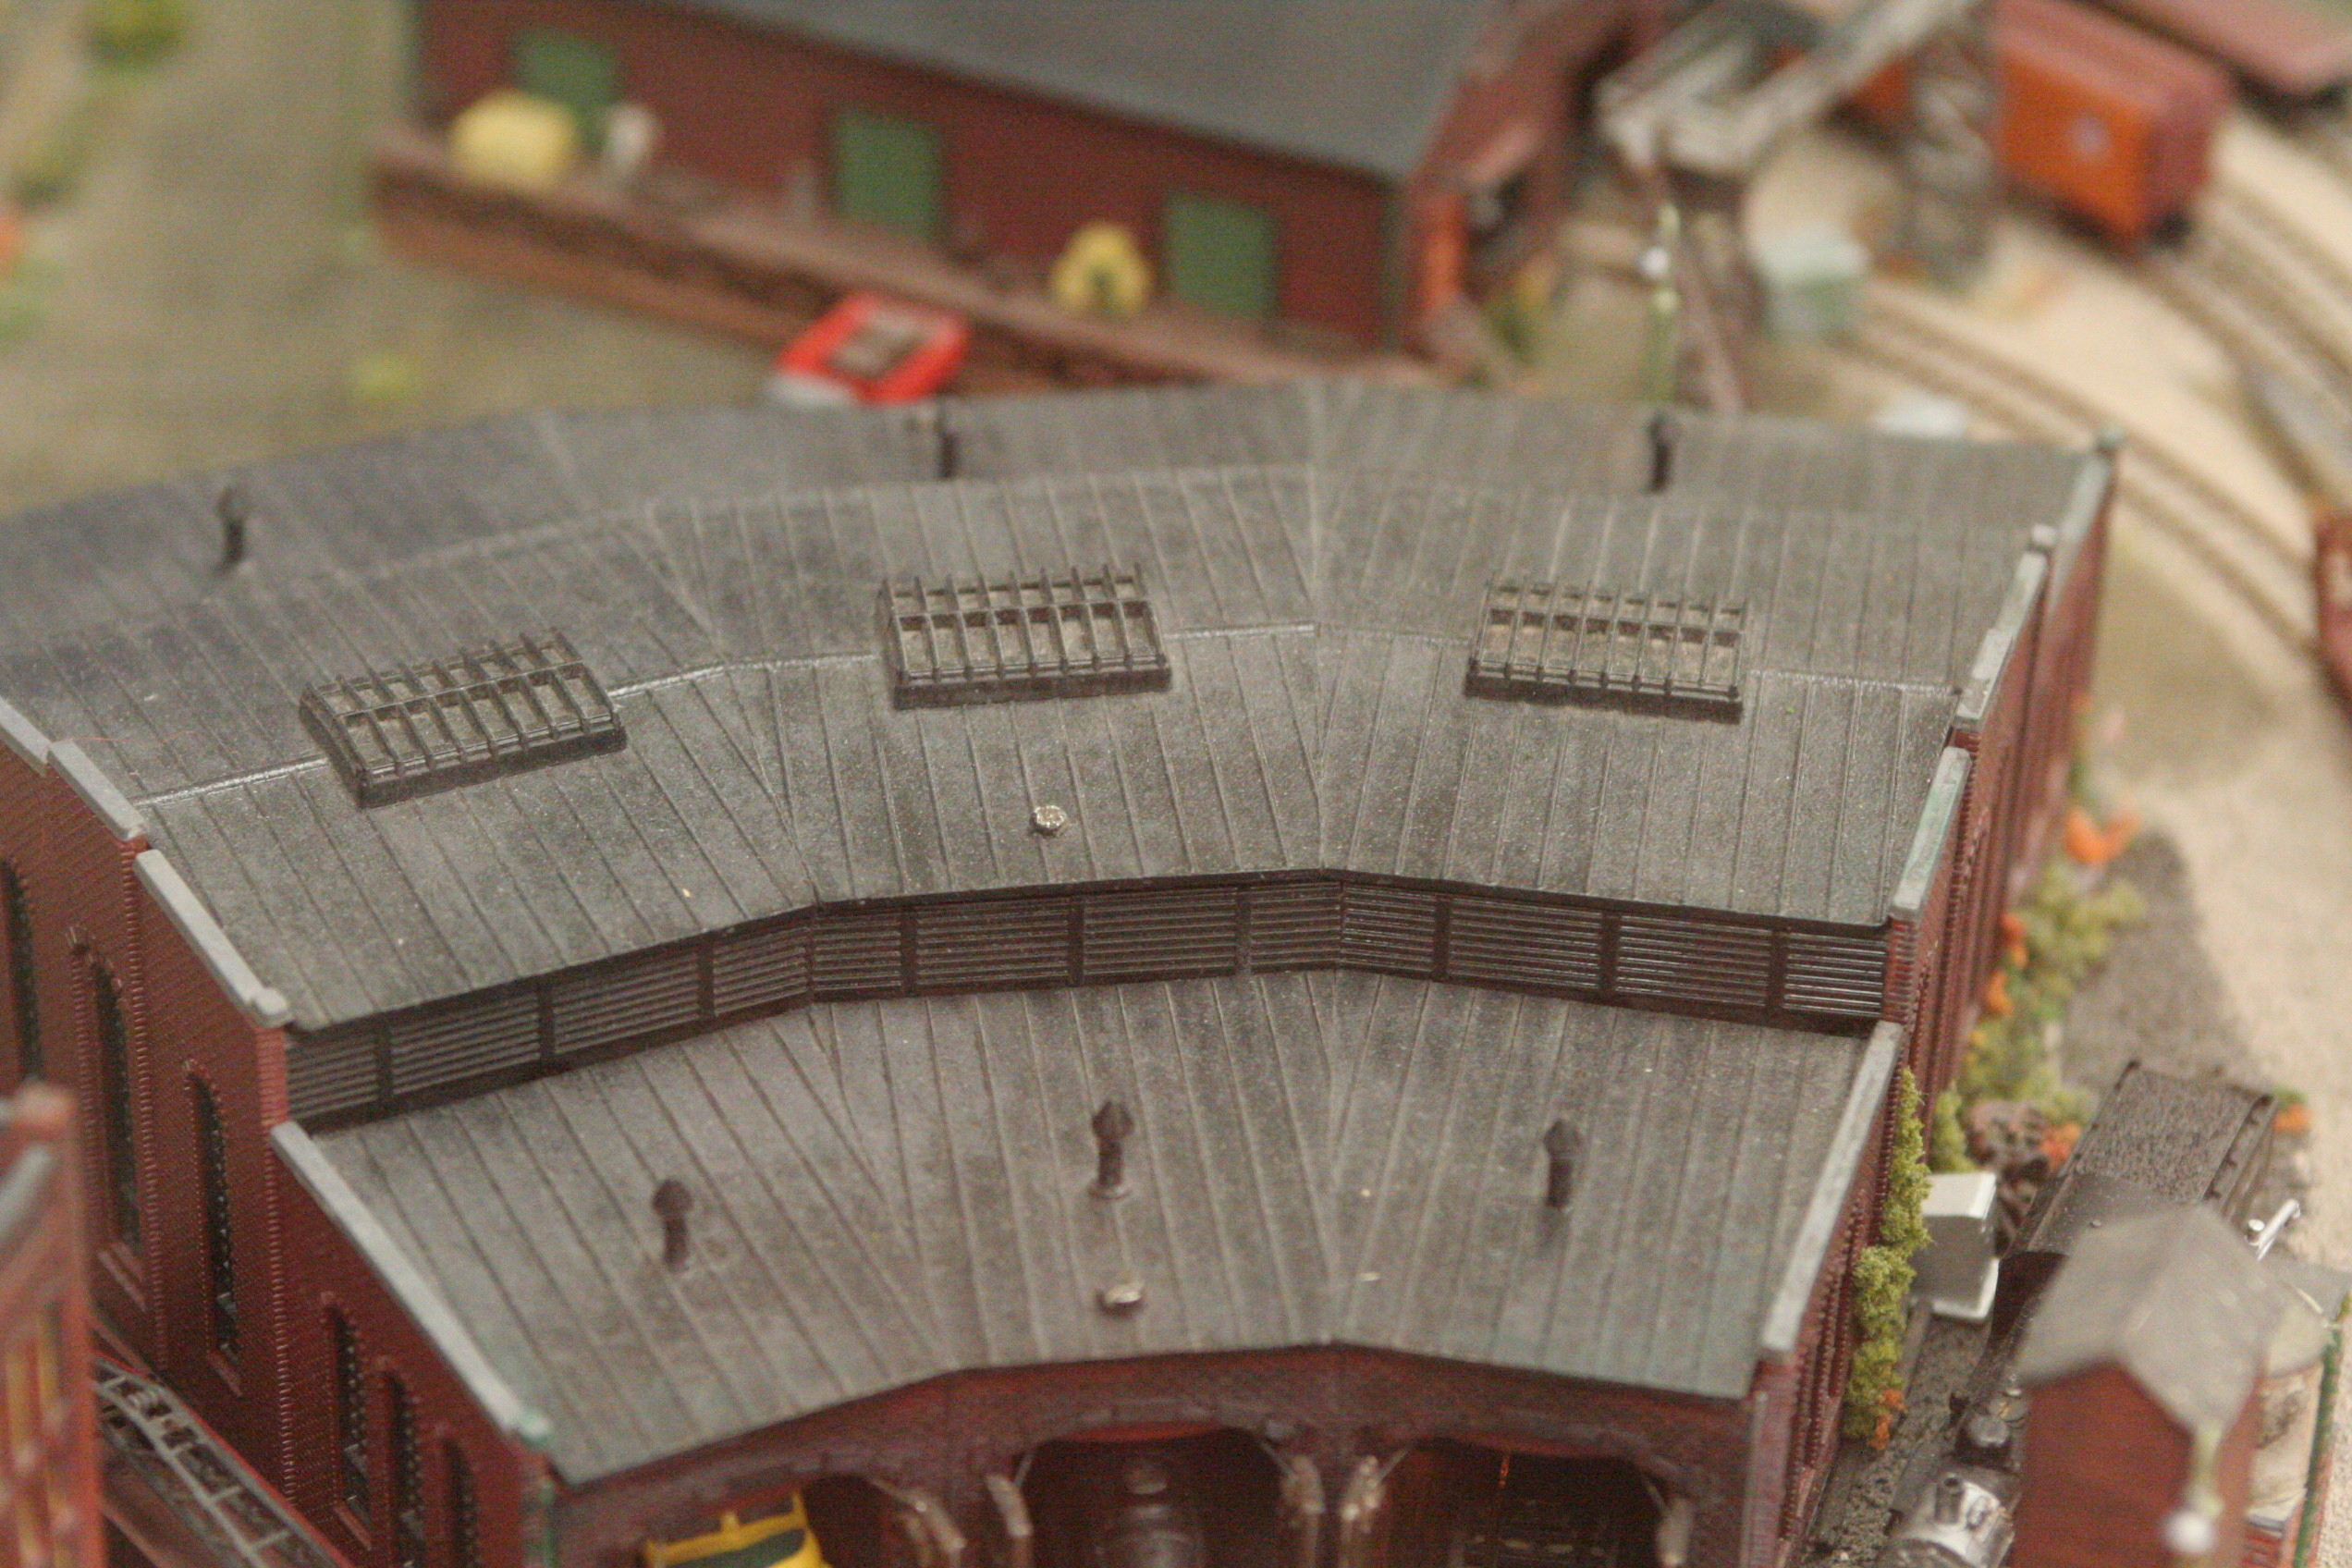
Each roof section is held in place with a flat-head screw. Notice how the grey roof wall edging acts as a sort of "clip" to hold the roof sections. I also added strips of thin foam to light proof the roof joints.